I had recently signed up for an Instagram account, @msmabes, and ever since then, I kept thinking of how to incorporate it into my blog. I want my blog to be the one-stop space online for people to read and know more about me and my family after all.
So I went on a Google search.
Initially, I had no idea what to search for. I just keyed in “instagram on blogs”, a couple of websites with Instagram widgets (that’s when I learned the term. Haha!) popped up, but instead of clicking on any of them, I changed my search to “instagram widgets” for a more accurate search result.
I started to click on each and every link on the first page to test them out. The next hour or so saw me going through each website, trying all the different types of widgets out on my blog. From what I gathered, most of the widgets seem to focus on displaying photos from the Instagram account either in a slide show, or in grids; None of which came with the captions attached to the instagram. I want my captions!
That’s when Tint happened.
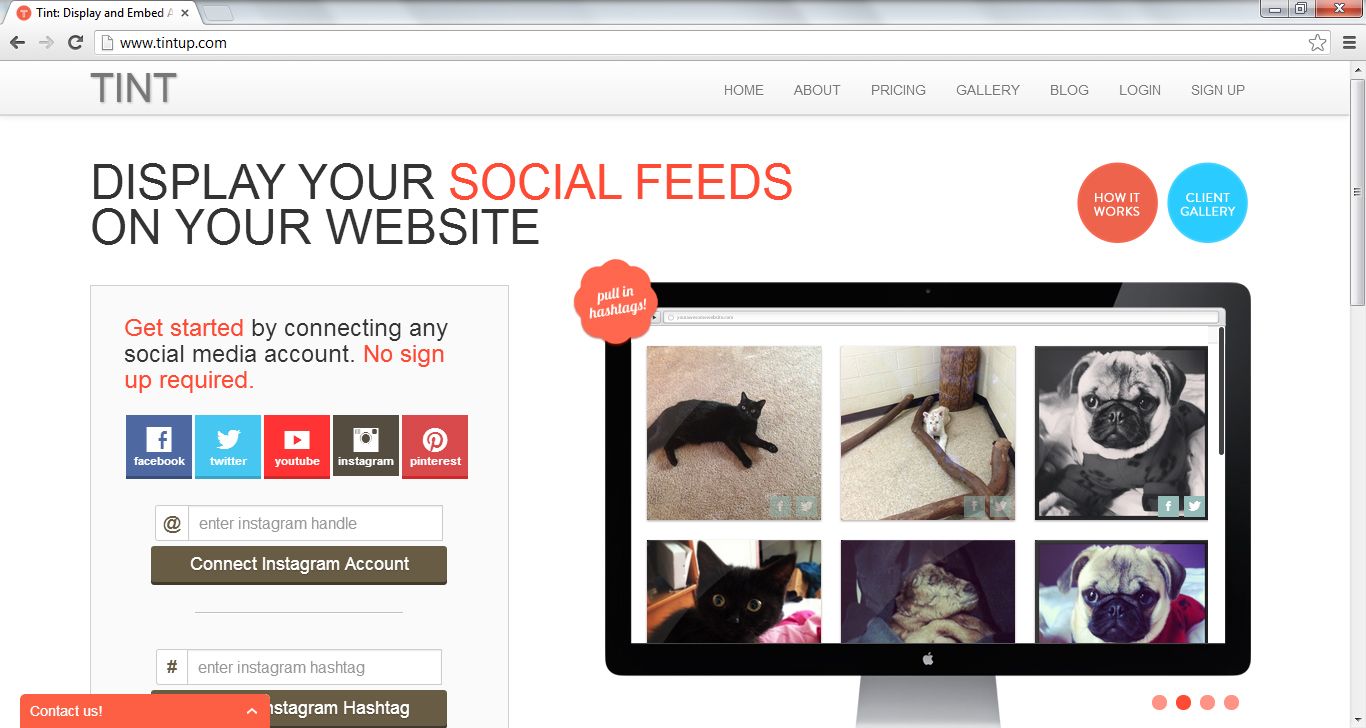
You don’t even need to sign up with them. You can just use your Instagram account and it’ll all be linked up straight away. And it’s really easy to use too!
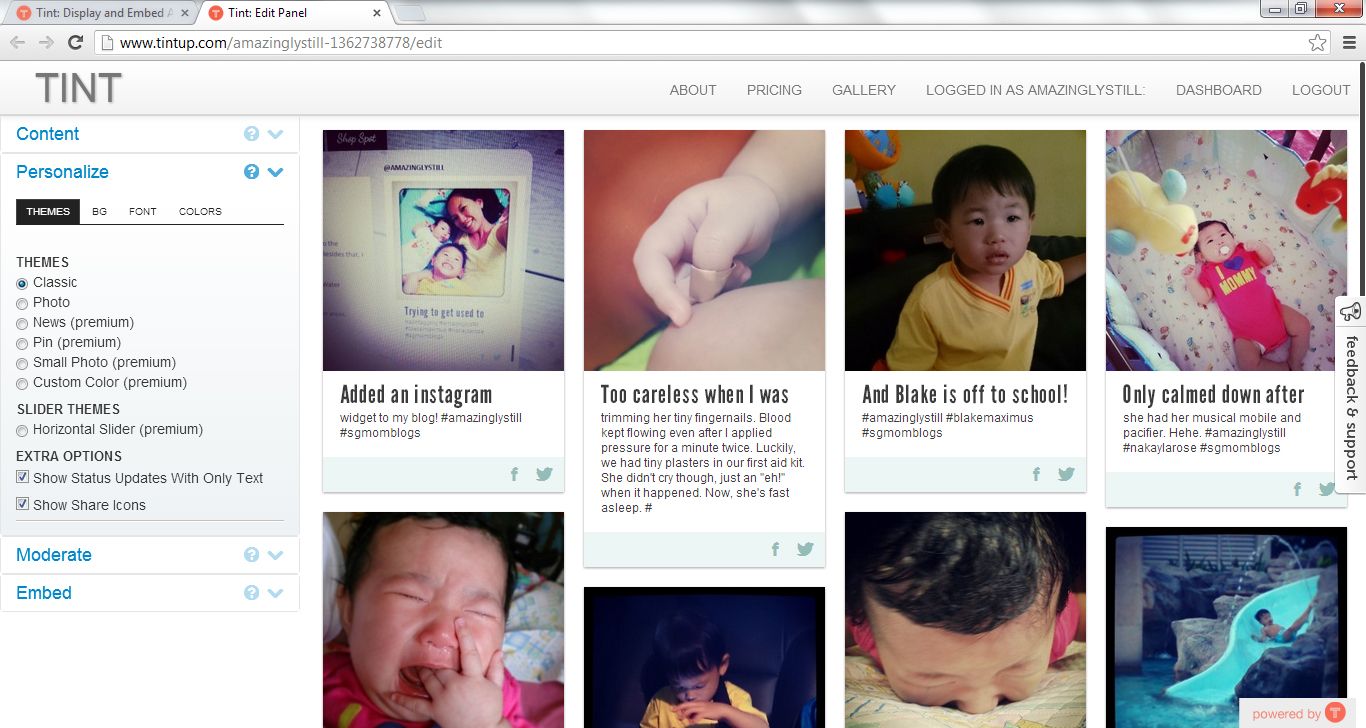
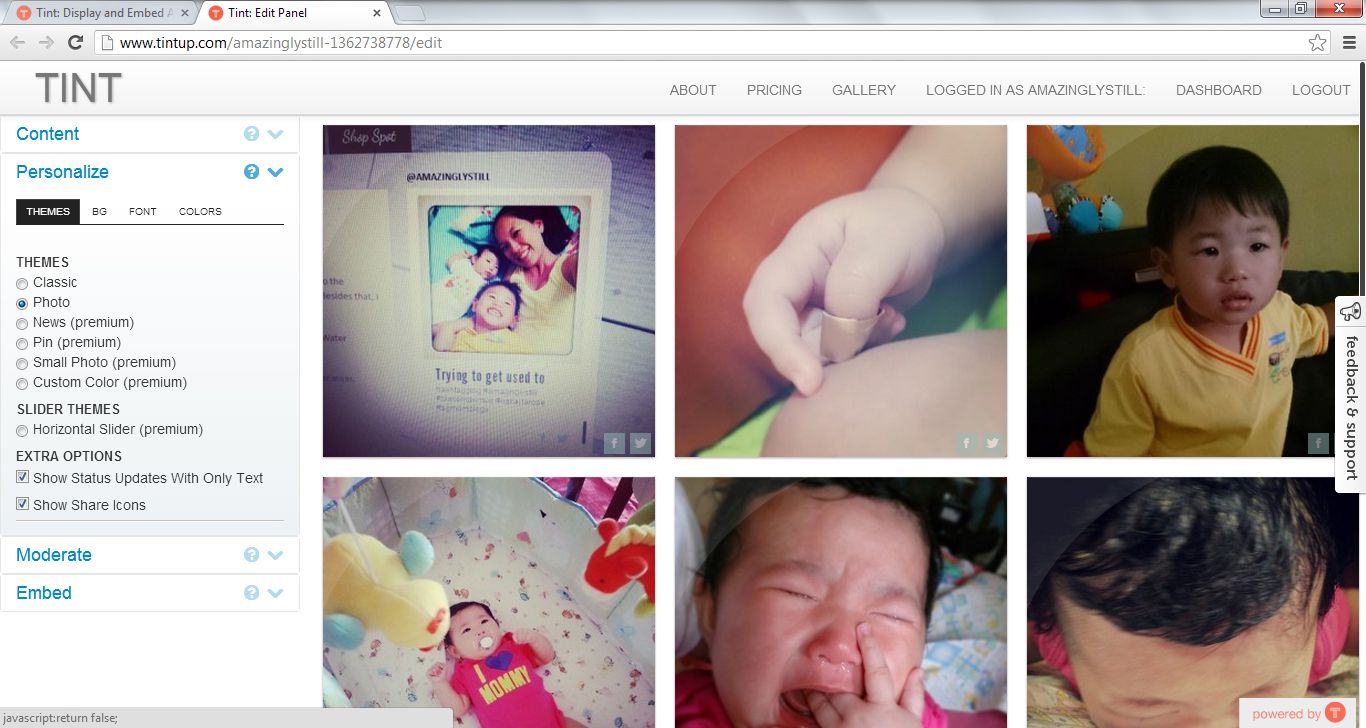
If you’re a free user like I am, you can only choose between the ‘Classic’ or ‘Photo’ theme. I personally think that these two are sufficient. As you can see on the right sidebar of my blog, I went with ‘Classic’. Hehe. What can I say? I need my captions! Haha.
If you choose ‘Classic’ like I did, please take note! It doesn’t support a good majority of emoji – so far, only the ♥ appears. The rest either don’t appear at all, or will appear as a square.
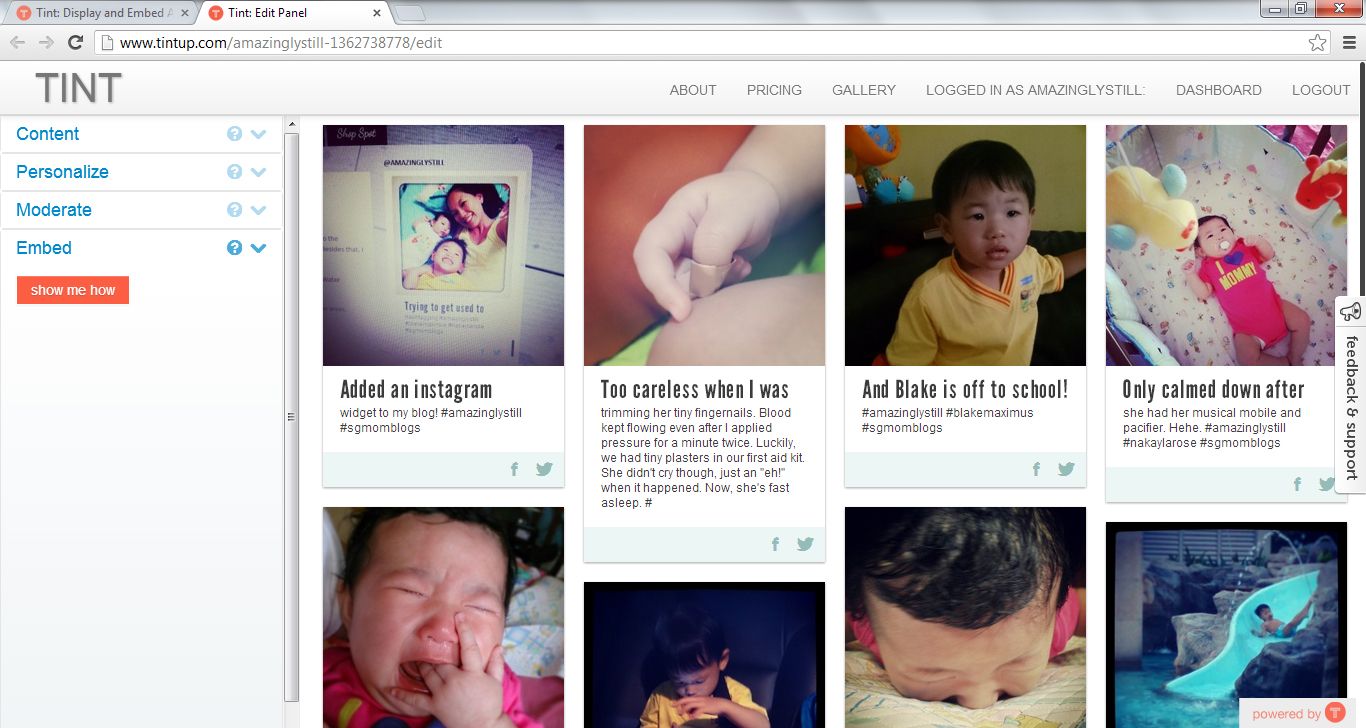
After you have chosen your theme, just go ahead to ‘Embed’ to generate the code!
Tint is so flexible that you can key in your own preference for width and height to fit your blog just the way you like it. You can even choose the number of columns for the photos to be displayed on your widget! But if you’re unsure, you can just leave that part blank, and it will automatically fit the maximum number of columns it can, based on the width you have entered.
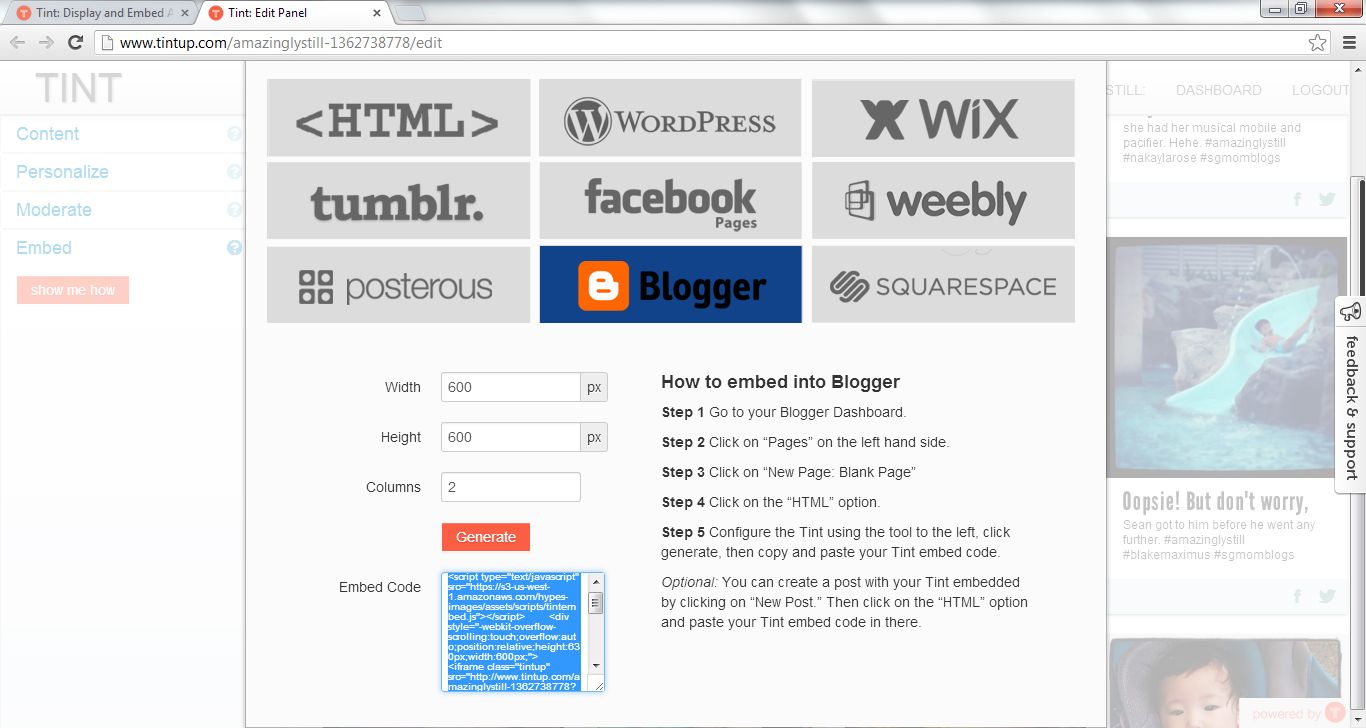
All that’s left is to copy the generated code into the section you wish to have your widget appear!
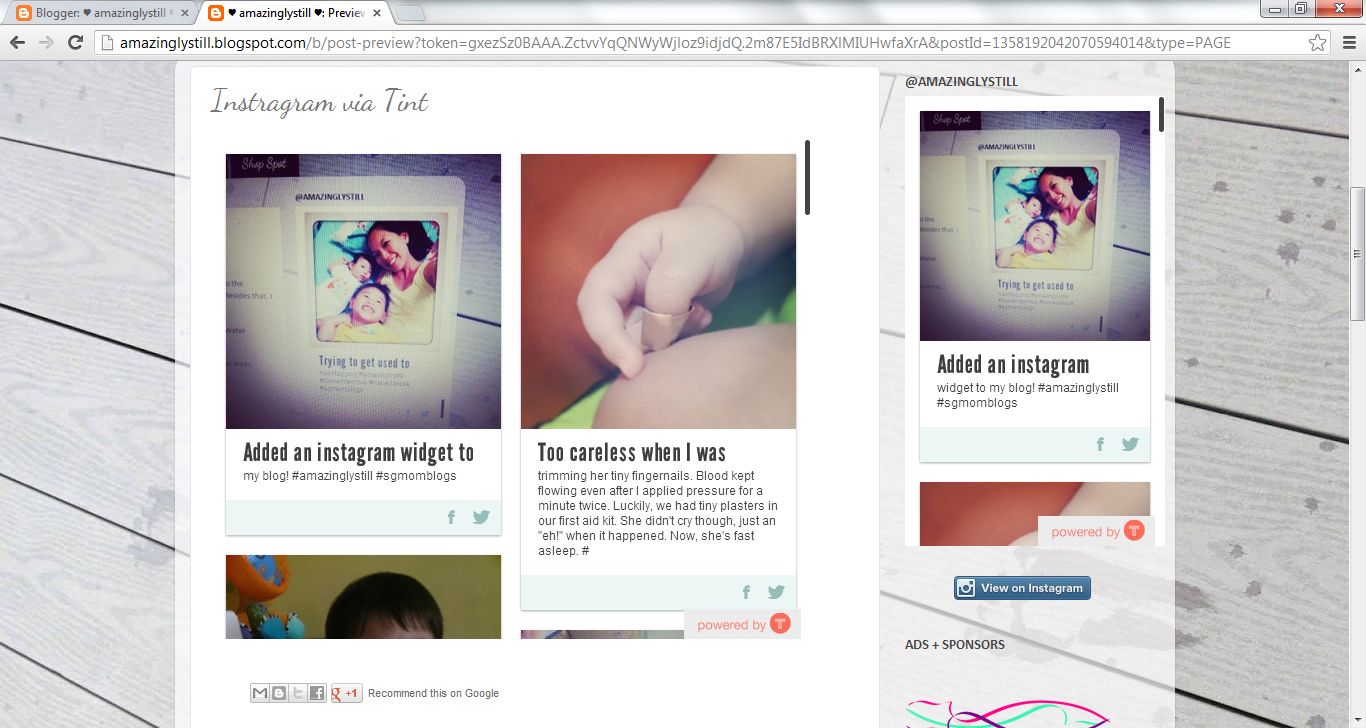
My own personal Tint widget is on the right sidebar. The above is a page I created to show you how it will look like with more than one column.
Here’s the best part about Tint. This was what made me want to blog about them.
I thought I had made a mistake with the code or something, so I clicked on ‘Live Chat’ found at the bottom left corner of the web browser, to seek for help. Most of the ‘Live Chats’ I have experienced over the internet through company’s websites all seem to be manned by robots. The answers given are similar to what can be found on their FAQ pages (if any), or somewhat feel computer-generated according to key words entered. But it was very obvious, from the moment Tint replied, that it was manned by a real person!
It got even better.
Things were pretty formal at first, but it soon became a friendly chat, complete with smileys and ‘haha’s. It was only after the chat ended, that I realized I had been receiving assistance from the CEO of Tint, Tim! We had only exchanged our names in the middle of the conversation, and he had given me his email address then. But I had no idea who he was until I checked my ‘Welcome’ email from Tint, after our chat ended, and saw right at the bottom:
P.S. If you have any issues while building your Tint, please email our CEO at tim@tintup.com and he will personally get back to you within 24 hours.
I don’t know about the rest of you, but when a CEO of a company is willing to put himself or herself there on the front line to handle issues customers/users are experiencing personally, it shows just how much they care for their company and the service/product they provide. What’s more, I was a free user. Haha.
All I can say is, not only did Tint provide a service which had what I wanted, but my experience with it so far has been nothing short of amazing.
For those who are keen on having an Instagram widget (they have more stuff, so you can check their website out) on your blog, do give Tint a try!
Psst… Click on the images in this blog post to view the larger image!
Disclaimer: I am not getting paid or receiving any form of benefits for this review. This is my own personal review from my own experience when I chanced upon Tint while looking for an Instagram widget for my blog.
Update 26 December 2014: I no longer use TINT as it has been giving me a lot of recurring problems this year.

